
How to Build Your First Foundry in Productive Metalworks
Gather the Core Components
A working foundry needs a controller, a tank, at least one drain, and enough  fire bricks to enclose the interior. Craft
 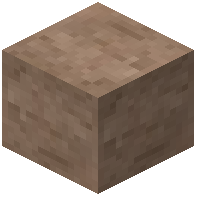 Fire Clay first, smelt it into Fire Bricks, then combine bricks with the matching colored variants if you want a themed build. The Foundry Controller is the brain of the structure; the Foundry Tank stores molten metal; Foundry Drains let you pour into
 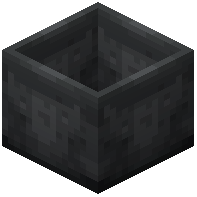 Casting Basins or
 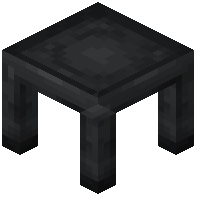 Casting Tables.
Assemble the Multiblock
Build a hollow rectangular shell from Fire Bricks (any color works, and colors can be mixed). Place the Foundry Controller on one face so it can see the interior. Put the Foundry Tank somewhere on the shell, and place Foundry Drains where you want metal to exit. Foundry Windows are optional but let you see the molten level inside. Once the controller recognizes a valid interior, its GUI opens and you can start feeding it items to melt.
First Melt
Right-click the controller to open it. Insert a meltable item (ores, ingots, or scrap) into the input slot. The foundry needs heat — either from a fuel-burning setup or a 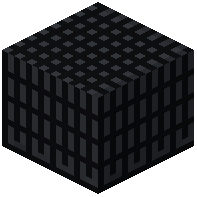 Powered Heating Coil if you have one. Molten metal accumulates in the tank. When you have enough, attach a
  Foundry Tap to a drain and pour into a Casting Basin for blocks or a Casting Table for ingots and casts. If the controller won't open, double-check that the shell is fully sealed and the controller is on the outside face.