
How to Automate a Productive Metalworks Foundry
Feed the Controller Automatically
Automation starts at the Foundry Controller. Use item pipes, hoppers, or conduits to insert meltable items into the controller's input. A chest full of ore or scrap feeding into the controller means the foundry never runs dry. Make sure the pipe actually targets the controller's input face — many pipes need to be  configured to insert, not extract.
Power the Heat
Replace or supplement fuel with a 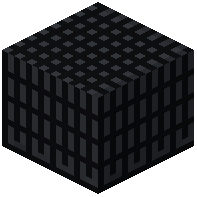 Powered Heating Coil wired to your energy network. This removes the need to hand-feed coal or charcoal. If you keep a fuel-based setup, use a hopper into the fuel slot so it refills itself.
Automate the Output
Attach a  Foundry Tap to a drain and place a
 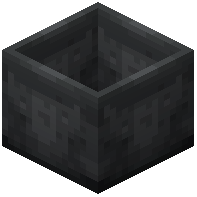 Casting Basin or
 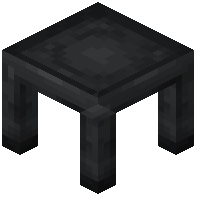 Casting Table below it. Open the tap once and leave it open — as long as the table or basin has room, metal will flow and solidify automatically. Use a hopper or pipe under the casting block to pull finished items into a chest.
Keep It Stable
- Don't let the tank overflow: if the tank is full and nothing is draining, the controller stops accepting input.
- Match your casts: if you're producing gears, keep a
 Gear Cast in the table.
 - Use Foundry Windows to visually check the molten level without opening the GUI.
- Test each stage manually before wiring the full loop, so you can isolate which pipe or block is misconfigured.