
How to Build Custom-Shaped Fluid Tanks and Item Vaults
Standard storage blocks in many tech mods force you to build strict rectangular boxes, which can make fitting storage into cramped factories or odd corners difficult. Hydroflux Reservoirs lets you place tanks and vaults that automatically morph into any custom shape you construct.
Placing and Connecting Storage Blocks
1. Choose whether you are storing liquids (using a Fluid Tank) or items (using a 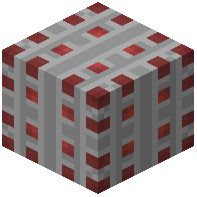 Fluidic Vault) and select the tier that matches your capacity needs.
2. Place your first tank or vault block in the space you want to fill.
3. Continue placing matching blocks against any adjacent face of the existing structure. Instead of requiring a cube or cylinder, the connected blocks will merge their frames and adapt to the exact outline you build.
4. Route your fluid pipes or item conveyors into the structure to begin filling it. Both the tanks and vaults accept all vanilla and modded liquids or items, including resources from tech mods like Create and Mekanism.
Fitting Storage into Tight Spaces
Because the blocks connect in freeform shapes, you can snake a single tank or vault around existing machinery, tuck storage inside walls, or build decorative silhouettes that still function as one unified container. Each block you add increases the total capacity of the structure based on its tier, ranging from 8 buckets (or 9 item stacks) per block on the Regular tier up to 4,096 buckets (or 2,304 item stacks) per block on the Ultimate tier.