
Alloyed Evolution Wiki › Guides › Set Up an Efficient Blacksmithing Workshop
Set Up an Efficient Blacksmithing Workshop
Layout and Placement
Arrange your workspace in a logical flow: drying racks →  fire pit → stone anvil → storage. This minimizes walking and keeps your workflow smooth. Place multiple fire pits if you're forging frequently, so one can heat while you work at the anvil.
Essential Components
- Drying racks: Position near your clay source for initial processing
- Fire pit: Central to your operation; keep fuel stockpiled nearby
- Stone anvil: Place directly adjacent to your fire pit for quick metal transfers
- Wooden clips: Store a stack in an easily accessible chest
- Vertical
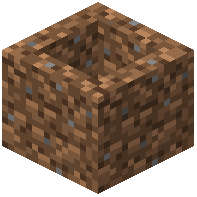 kiln: Locate separately if space is limited, but close enough to transport dried clay
- Storage: Organize finished items, blanks, and materials in labeled chests
Workflow Tips
Keep your fuel supply (wood, charcoal) in a dedicated hopper or chest next to the fire pit. Maintain a stock of wooden clips so you never run out mid-session. Use the in-game guidebook to plan which items you'll forge, then gather all necessary blanks before starting. Lighting and visibility help you see spark particles clearly, so add torches or lanterns around your anvil.